fbpx

Job Requests and Helpdesk

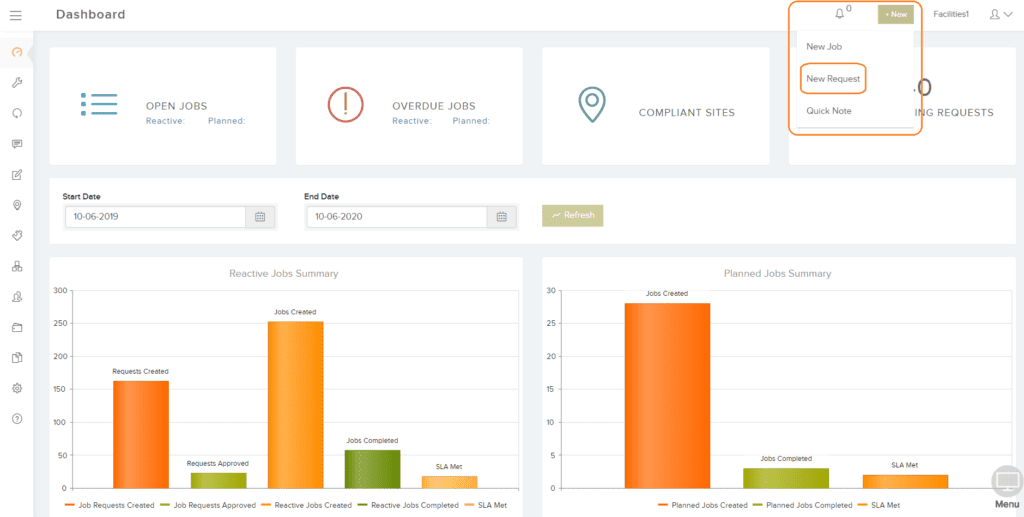
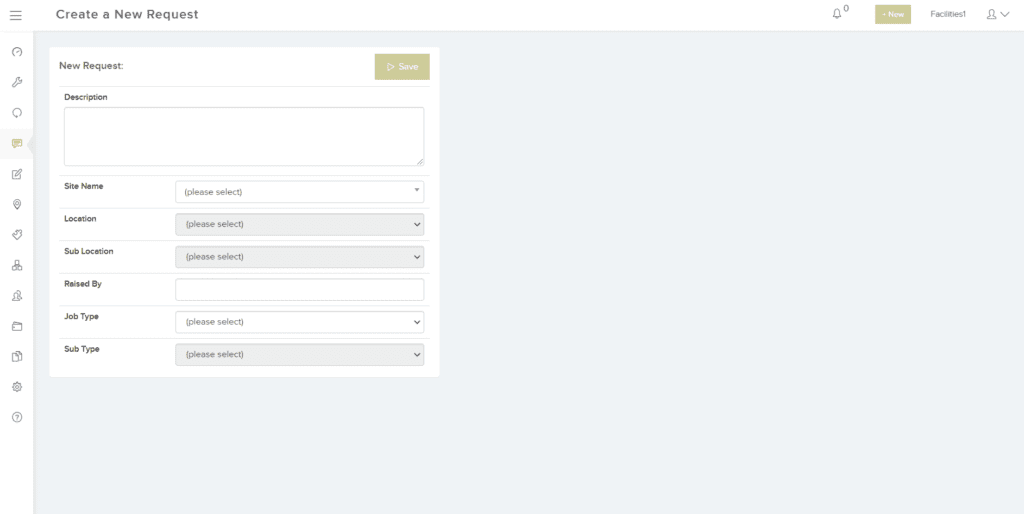
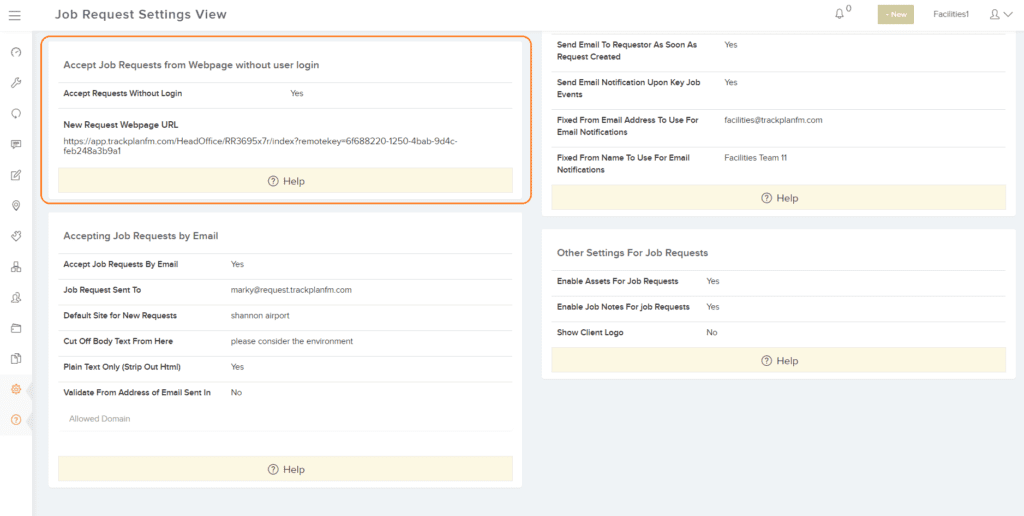
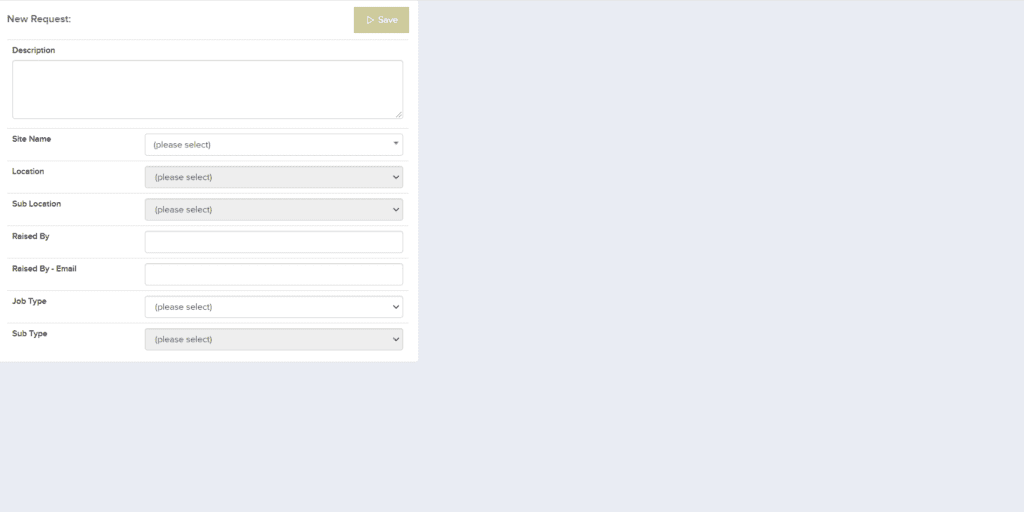
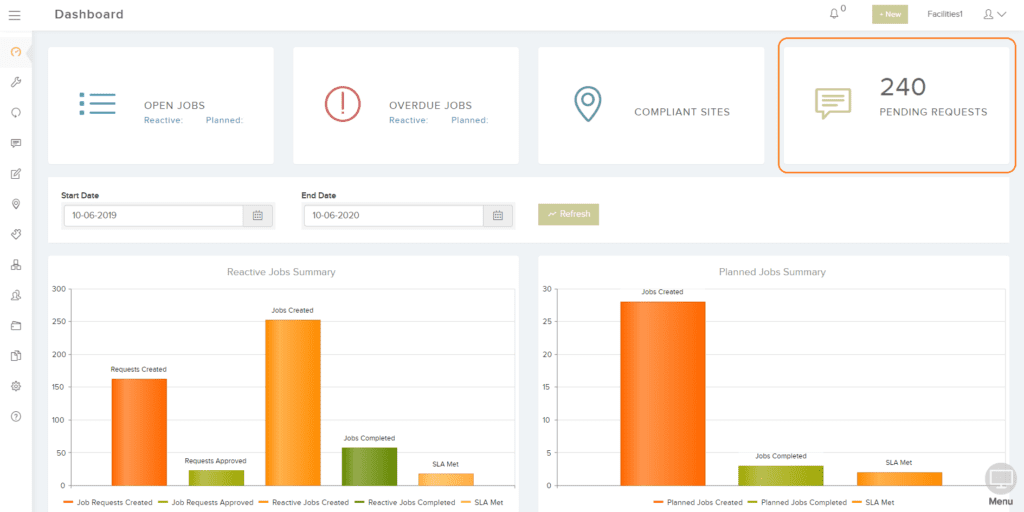
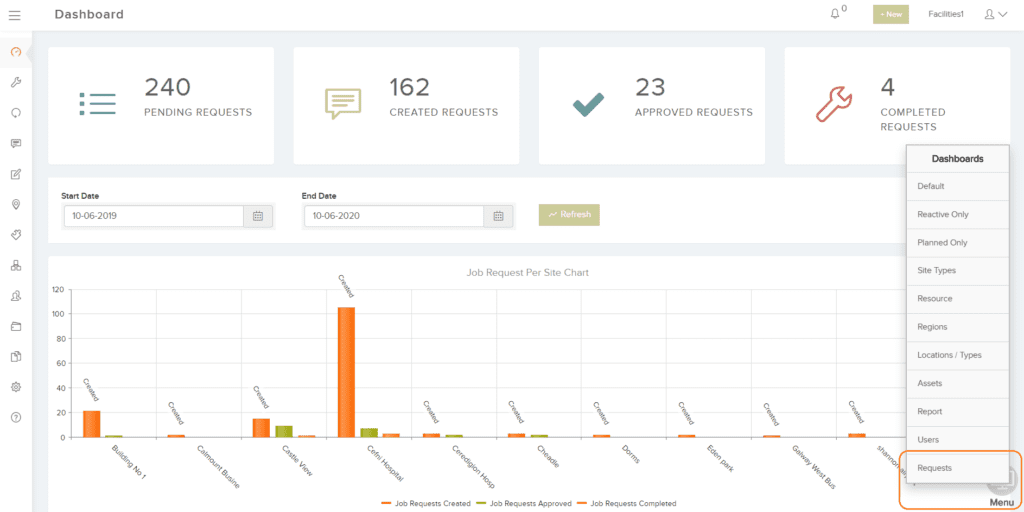
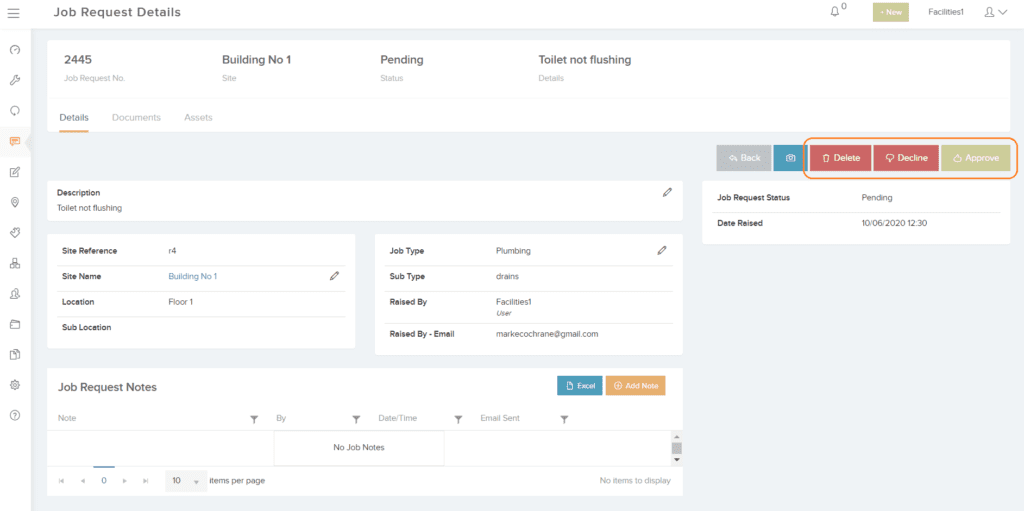
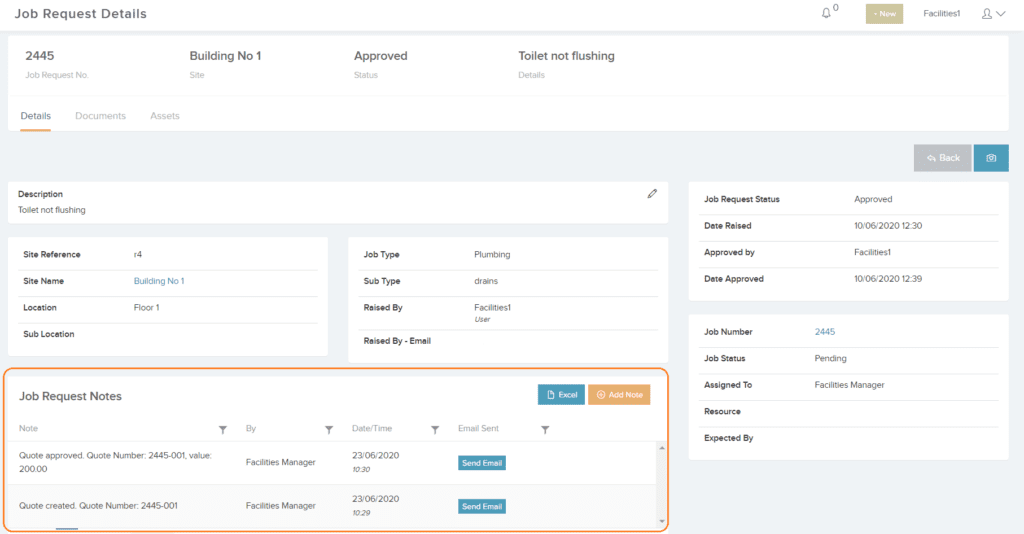
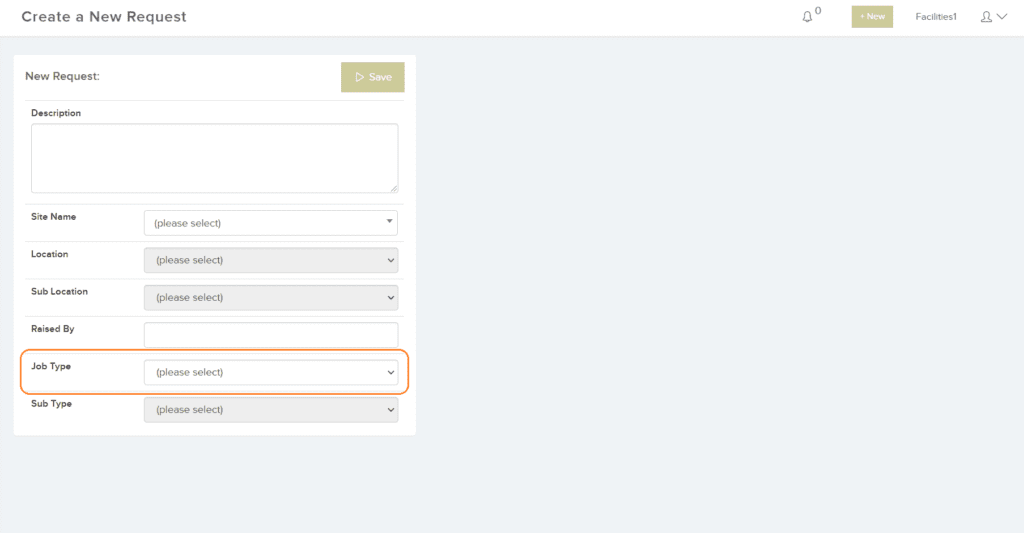
Clients and end users can create Job Requests which the central team or helpdesk can then review and approve into full reactive jobs. These jobs can then be managed though a life-cycle from issuing the work to a contractor or internal engineer through to completion.

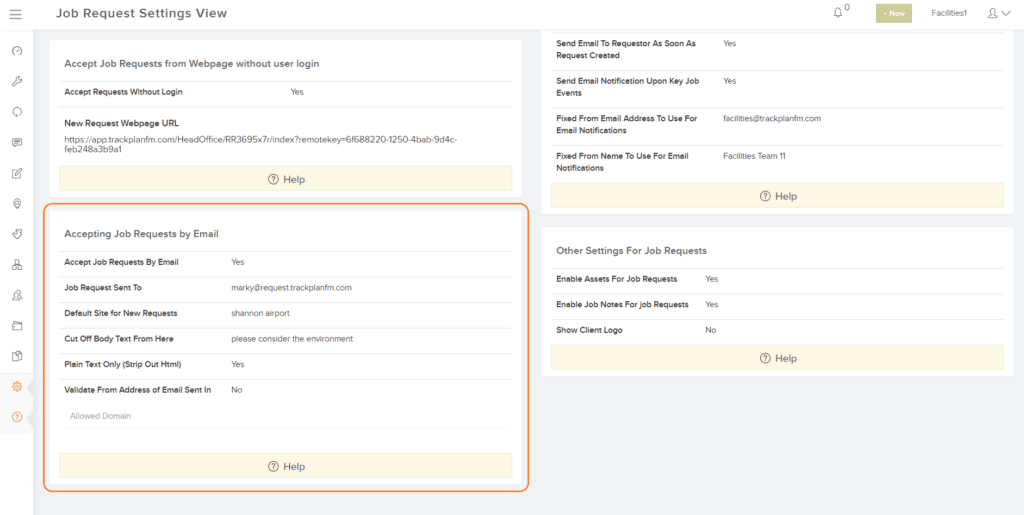
Email notifications can be sent to the client and helpdesk throughout the journey of the job request all the way to the completed job.

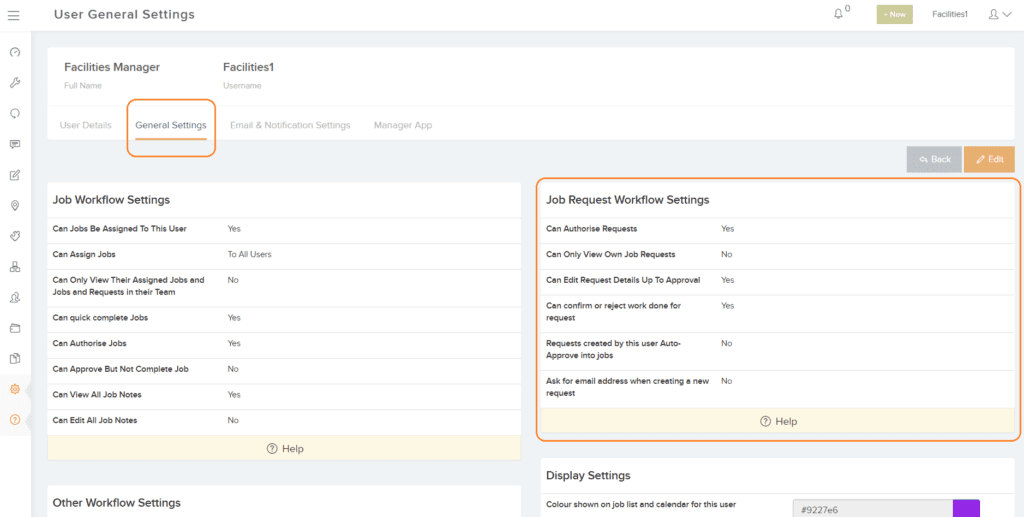
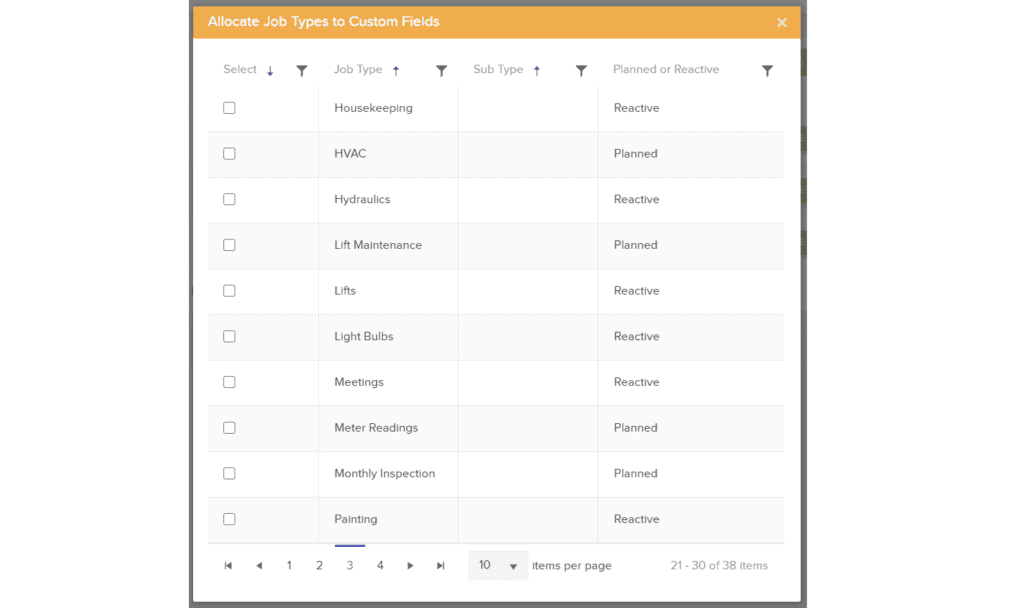
The highly configurable system gives you lots of options and flexibility when it comes to managing Reactive Jobs and Job Requests.

Raising Job Requests

Job requests can be raised three different ways:

      1. A job request can be raised by logging into the main application and raising a request through the main dashboard and filling out the job request form.
      2. Job requests can be raised by sending an email to a designated email address.
      3. A job request can also be raised by using a link generated by Trackplan which can be used by anyone who has access to the link itself.

Raise Job Requests by Logging in

One way to raise a job request is to log in to the main Trackplan application and raise a “New Request” from the top menu bar. You can then fill out the New Request form, which will be sent off for approval by the helpdesk team.

Each user can be given their own login details in order to raise requests. Alternatively, multiple users can share a single login and input their name in the “raised by” section of the New Request form.

Raise Job Requests by Email

Another way to raise a job request is by email. The “Job Request by Email” section in the Job Request Settings area allows you to enter the email address that will be used for job requests.

You can also manage other settings such as the default site that will be associated with incoming requests, and if only emails from selected domains will be accepted.

Job Request Settings can also be configured for each user within the Trackplan application. A notable one for raising requests is the “Ask for email address when creating a new request”. This will allow the helpdesk to differentiate between users when a new job request has been sent in.

Raise Job Requests by Using a Link

The third way to raise a job request is by using the link that is generated by the Trackplan application. This link can be saved and sent to all individuals who would need to raise a job request.

This link will take any end-user to the New Job Request form where they can input the issue that needs attention. It is important to note that you do not need login details to raise a request using this link, which means this method would be very useful for tenants in an apartment block, for example. Each end-user will be able to input their name and email address in order to receive updates on the job request journey.

Helpdesk Approval

Once the request is created, the helpdesk will receive notification of the job request by email. They can also tell from the Job Request list or the default or requests dashboards if there are any “pending” requests that need their approval.

The helpdesk user can then go to the Request Details page and choose to Approve, Decline or Delete the request. The client will be updated in either case. The helpdesk can also send the job request for authorization by a manager before it can be approved.

Once the job request is approved, a new reactive job is created – it will have the same job number as the job request. From the reactive job details page, the helpdesk user can then choose and instruct the work to a contractor or internal engineer. The job then goes through a series of steps before being completed.

The client / end user can receive email notifications on all key stages of this process. For example, once the request is approved, issued to a contractor, and of course completed. You can configure user by user what emails they receive, and you can also design the emails that get sent out including a client logo.

The notes section of the Job Request details page records the history of each job / job request, and tracks the updates or changes made to a job / request. These notes can also be added to by either the requester or the helpdesk.

Assets can be attached to the request from the “Assets” tab. Documents and photos can also be uploaded against a request from the “Documents” tab.

Custom Field Forms can be linked to specific job types; this means that when a job is created with this job type, the custom field form will automatically be attached.

The new request form has a section for “Job Type”. If the user selects a job type that is linked to a custom field form, this form will be sent through with the request.

You can ask additional questions to the core job request which can be dependent on type of request it is. So for example if it is a request for a parking permit you could ask additional questions about the car registration, date required etc. Or if it is a catering request, how many is it for? What kind of food do you want?. These are just two examples of how helpful the custom fields feature can be for capturing additional information.

Job request product video